
This stitch is best stitched with quite a few strands of stranded cotton. The photos below are showing the picot stitched with 3 strands.
Before you start, anchor the thread to a nearby stitch, on the back of the fabric.
1 Place the dressmaking pin through the fabric where you want the stitch to be: the top of the pin should go through the fabric at the tip of the stitch.
Bring the threaded needle out to the front of the fabric at the left base of the stitch, in (1). Hook the thread behind the head of the pin, and push the needle back through the fabric at the right base of the stitch, in (2). Bring it back out in the centre of the base (3), and hook the thread behind the head of the pin a second time (4).

2 Now that the frame is built, we can start filling in the stitch. Work from the top down, weaving the needle back and forth through the 3 vertical stitches, making youre you alternate the weaving pattern (5) and (6).

3 As you work the stitch, make sure you keep the thread tension as regular as possible, so that the sides of the stitch are smooth. Also use the needle (or your fingernail!) to pack the weave towards the top of the stitch, so that the picot is filled tight.
When you reach the base, and there is no more space left to keep weaving, push the needle back through to the fabric (near the left or the right of the base, depending on where you’ve stopped). Remove the pin, and have fun shaping your picot stitch!!

If you decide to stop at this stage and leave the tip of the stitch free to move, then secure the thread on the back of the fabric.
4 OPTIONAL – However if you prefer to secure the tip of the stitch to the fabric:
- push the needle back out where you want the tip of the stitch to be attached and push the needle through the tip of the picot itself (A),
- then stitch a tiny stitch to secure it in place (B).
Now you can secure the thread at the back.

Fancy seeing it stitched in action? Here’s a short video:
Fancy trying out your new skills? Here’s a selection of patterns do to just that:


Happy stitching!

incredibly beautiful!!!!!!
Thank you for the lesson!!!!!!
You’re more than welcome, Tatiana! I’m really pleased you liked it !! 🙂
Comment réaliser la fleur brodée (en photo dans le petit cadre) composée de cinq pétales ? C’est vraiment très joli !
Ce tuto est génial, il peut servir à broder une étoile de mer. Merci beaucoup !
Merci beaucoup Chantal !
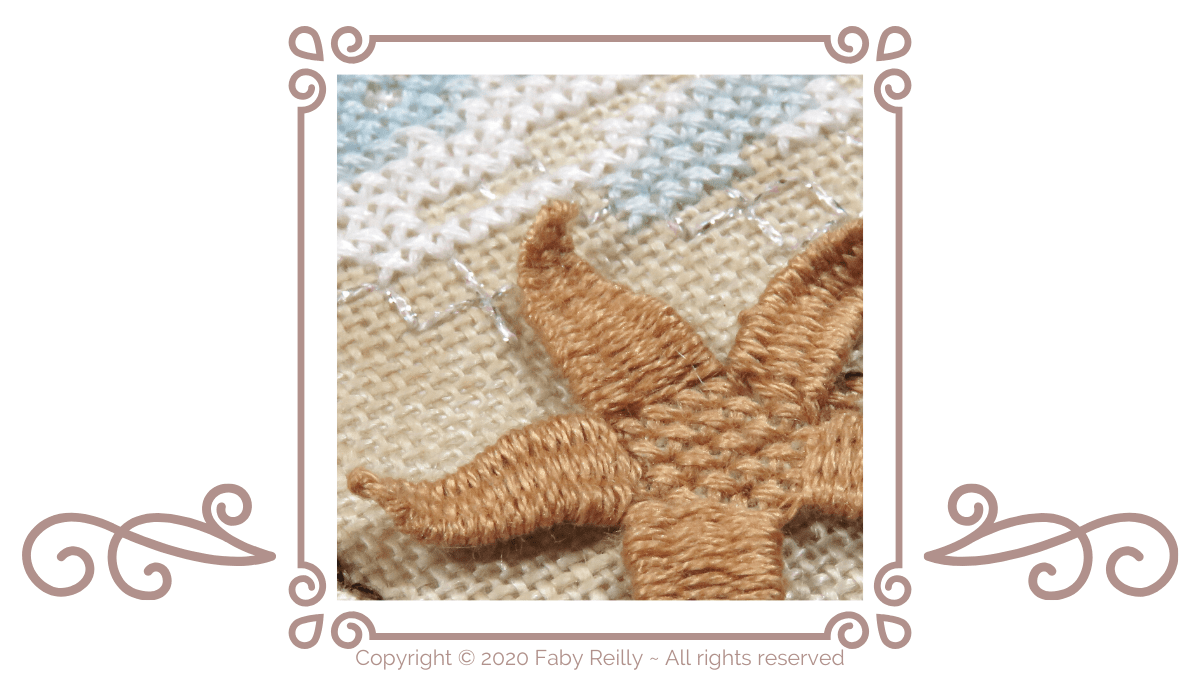
La “fleur” à 5 pétales dans le cadre… c’est en fait une étoile de mer 😉 C’est beaucoup plus évident lorsqu’on voit le modèle entier – il doit paraitre d’ici 1 ou 2 jours dans le magazine The World of Cross-Stitching, puis d’ici 6 mois sur ce site 🙂
Je vous remercie pour les explications de ce nouveau point de broderie.
Avec grand plaisir Chantal !!