If you’ve ever had to stitch a pesky stitch that stands like a Billy No-Mates in the middle of nowhere, you’ll know how tricky it is to start and stop it, without having anywhere to anchor your thread to.
Here’s a quick and easy way to do it 😉
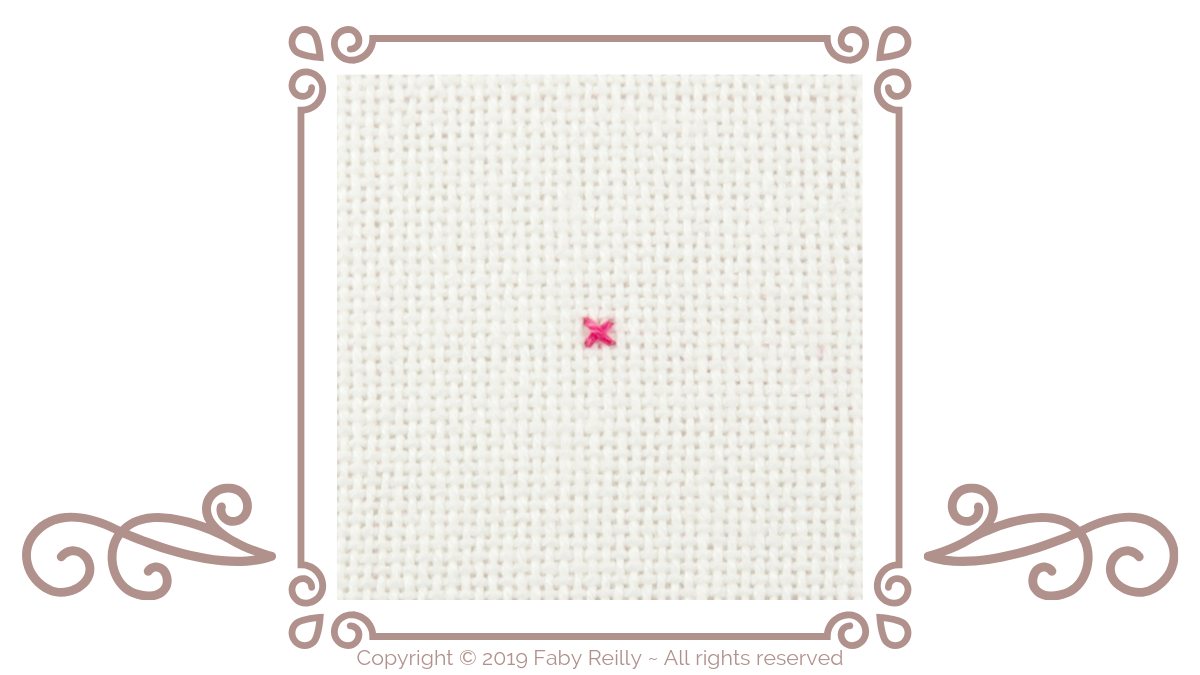
Meet the culprit:

1. You want to start it using the loop method (explained HERE), that way there’s no mess on the back of your work. And if you’ve done it right, it should look like this (from the back):

Pretty neat, isn’t it?
2. Now to finish it. So we’re staying on the back of the work. Push the needle through the back of the stitch:

3. Pull it, until you get a little loop, and then push the needle through the loop.

4. That’s going to create a little knot. Pull it tight.

5. And do the same again, so that you have 2 knots. Pull them tight.

6. Then simply push the needle through the back of the knots again.

7. And snip the thread off. (I haven’t cut it too close here, so that you can see where it’s snipped, but you don’t have to leave it so long 😉 !)

And the best thing is…♥… it works with anything! You can use this method to stop a line of backstitch, and I even use it at the back of each bead I stitch, to make sure it doesn’t become loose and start drooping.
Looks kind of lumpy.
I’m working on my second cross-stitch ever and this tip is really helpful! I start one stitch (or a row of two stitches) with an angled pin stitch and end it with this (the loop method can be annoying for one stitch since it clips the thread in half at the end).
[…] to Faby Reilly to get all the […]