Posted on 23rd March 202214th May 2026 by Faby Reilly — 3 CommentsWired Butterfly • Stumpwork Continue reading Wired Butterfly • Stumpwork
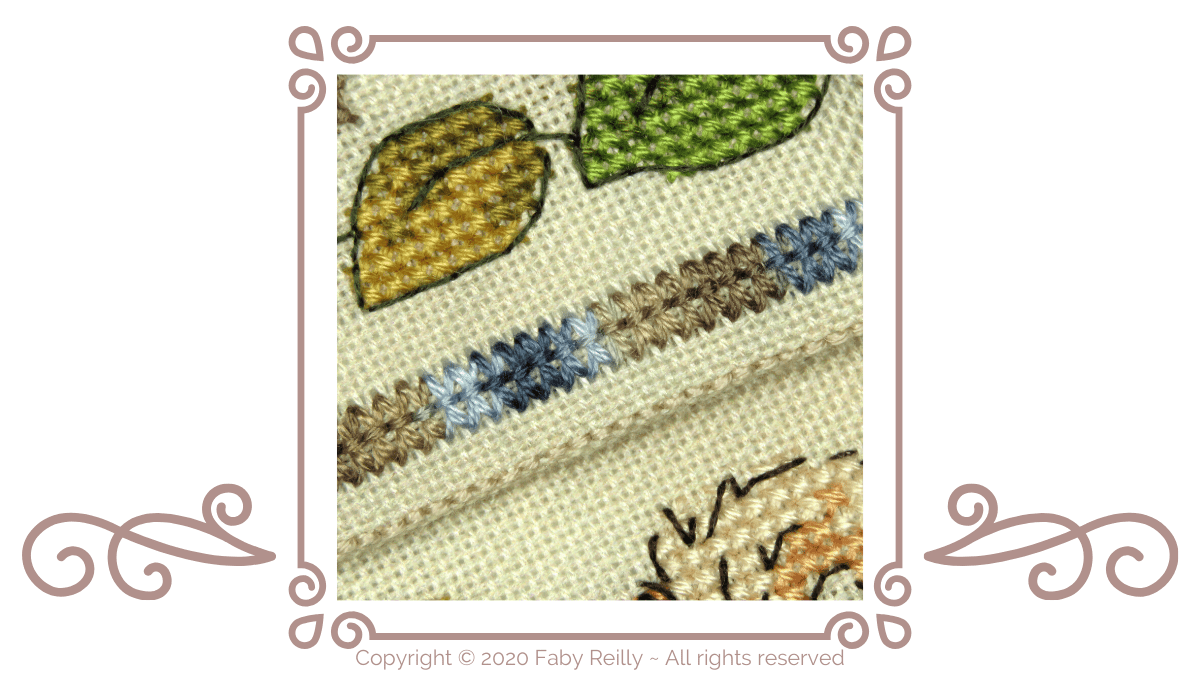
Posted on 18th January 202214th May 2026 by Faby Reilly — Leave a commentCross-stitch & fractionals Continue reading Cross-stitch & fractionals
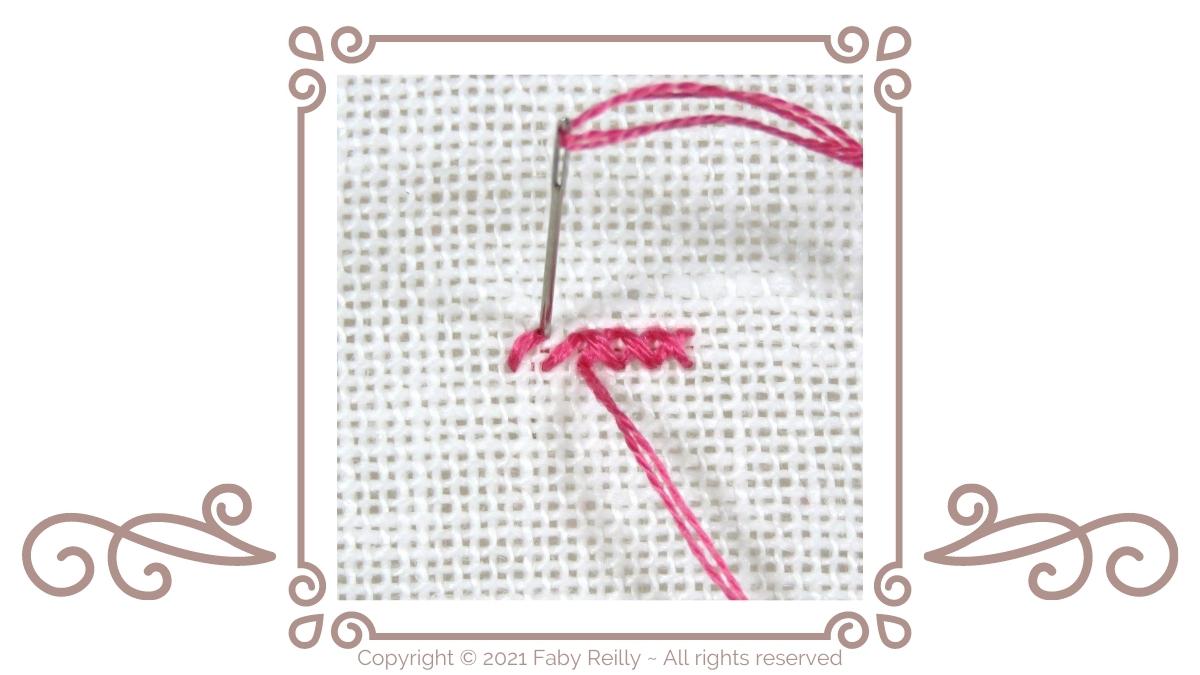
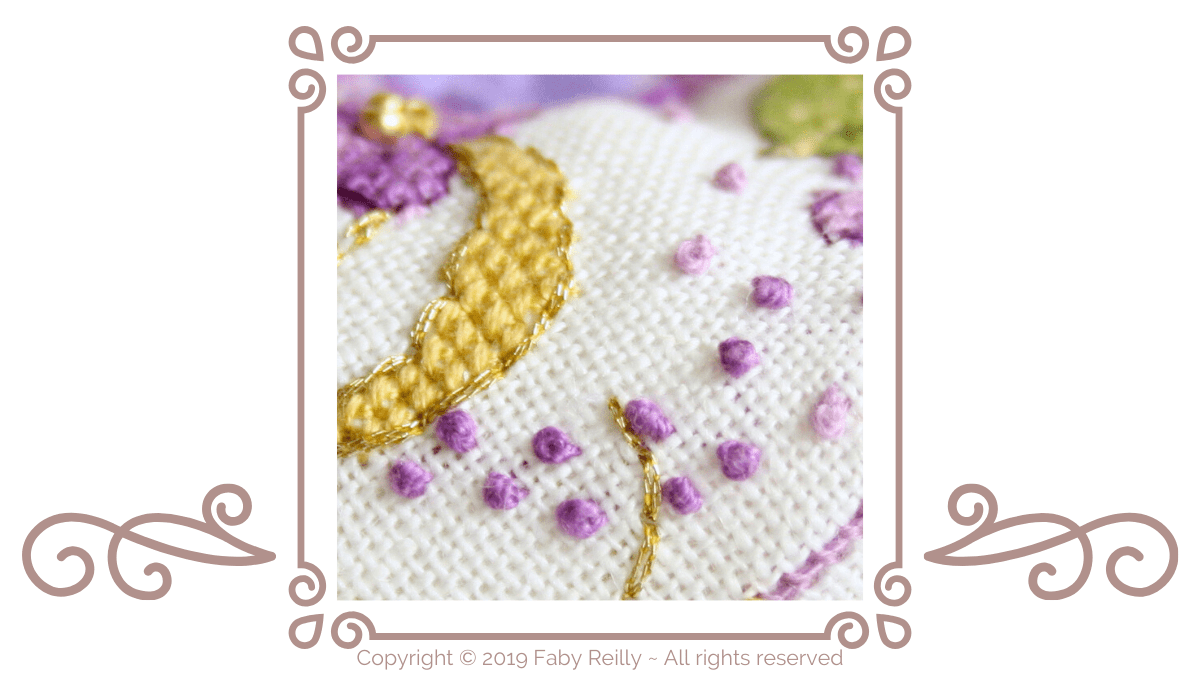
Posted on 1st May 202014th May 2026 by Faby Reilly — Leave a commentBullion stitch Continue reading Bullion stitch
Posted on 22nd April 202014th May 2026 by Faby Reilly — 1 CommentTied Oblong stitch Continue reading Tied Oblong stitch
Posted on 21st April 202014th May 2026 by Faby Reilly — Leave a commentRhodes Octagon stitch Continue reading Rhodes Octagon stitch
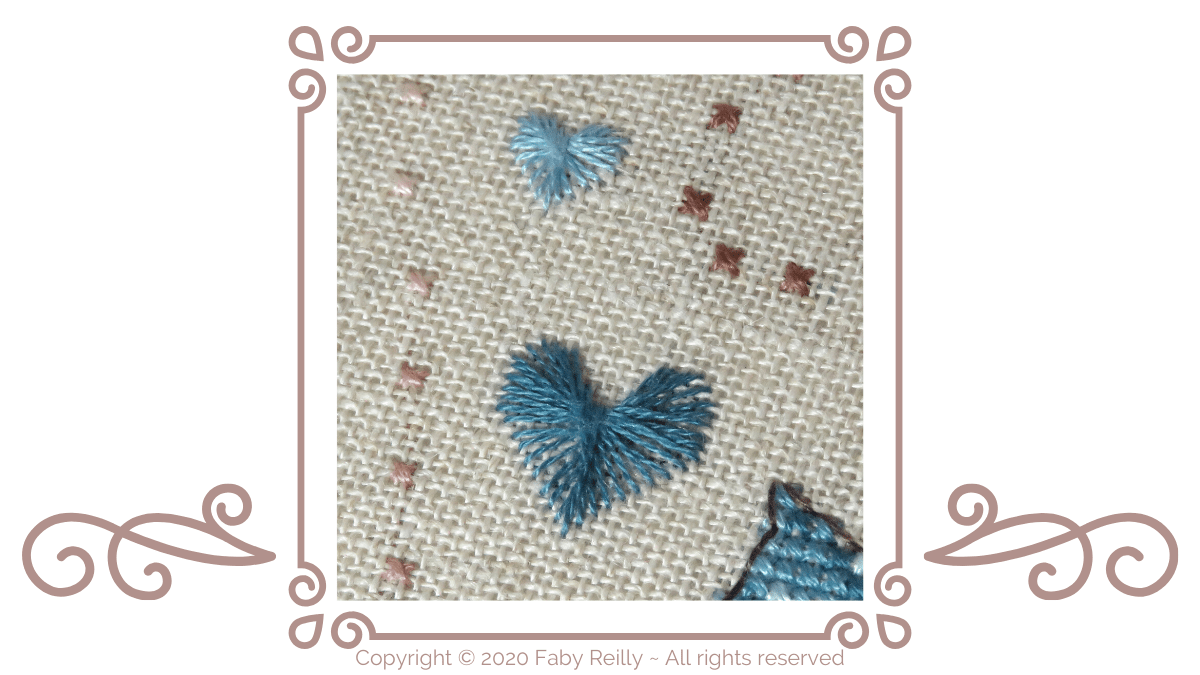
Posted on 15th April 202014th May 2026 by Faby Reilly — 3 CommentsRhodes Heart stitch Continue reading Rhodes Heart stitch
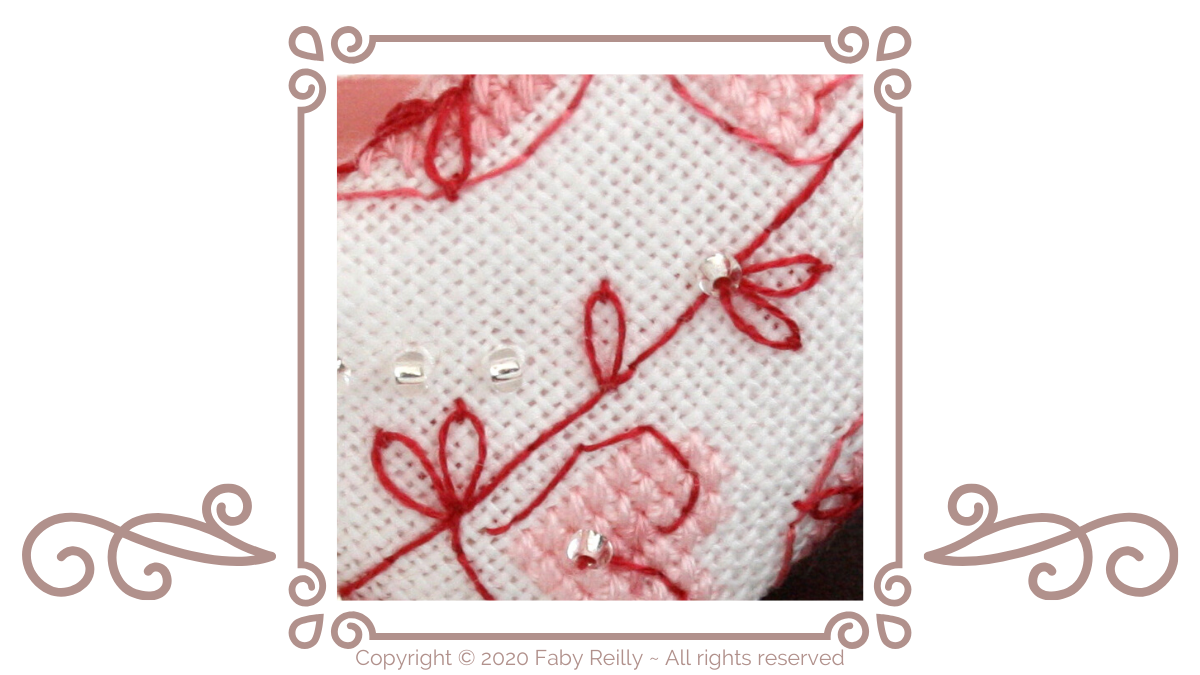
Posted on 17th January 202014th May 2026 by Faby Reilly — Leave a commentLazy Daisy stitch Continue reading Lazy Daisy stitch
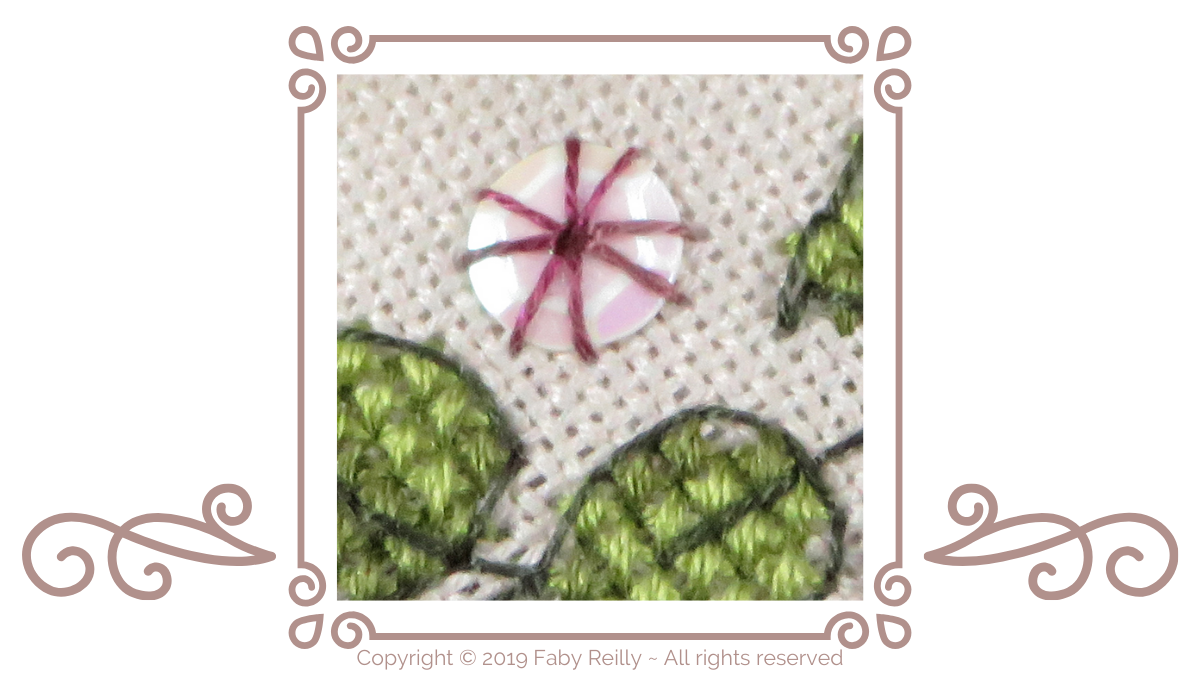
Posted on 3rd January 202014th May 2026 by Faby Reilly — Leave a commentRound Eyelet stitch Continue reading Round Eyelet stitch
Posted on 3rd July 201714th May 2026 by Faby Reilly — Leave a commentKnots: French vs Colonial Continue reading Knots: French vs Colonial