
Couching is worked with 2 threads, a thick/decorative one (on the right side of the fabric) and a “invisible” one (to tack the thick one to the fabric). Here, we’ll be using gold Japan thread as our decorative thread, and standard polyester thread in a matching colour to work the couching.
1 If you can’t attach the polyester thread to pre-existing stitches on the back of the work, use the waste knot method: tie a knot at the end of the thread, and leave it apparent on the front of the fabric (1), a short distance away from the area where you’re planning on starting the couching stitch. Stitch a couple of tight tiny stitches to lock the thread in place (2).
The idea is that you stitch over the tiny anchor stitches as you go along, so that you can safely snip the waste knot once you’re done, knowing the thread is secured.

2 Let’s get couching! To start with, lay the Japan thread(s) – we’re using 2 here, but you could just as well use just 1. It depends on the pattern you’re following.
Bring up the polyester thread to the left of the Japan thread, a few millimetres away from the starting point of the couching.
[We’ll tuck the Japan threads under the fabric at the end, but we can’t do that on an actual stitch, so bear that in mind when you start.]
Push the needle back through the fabric, to the right of the Japan threads, tacking them to the fabric with a tiny “invisible” stitch. Make sure that the gold threads lie neatly side by side, rather than overlap (3).
[It’s important that the colour of the polyester thread blends in really well with the top thread, unless you do want a stark contrast of course.]
Keep working such tiny stitches at regular intervals, shaping the Japan threads as you go along (4).

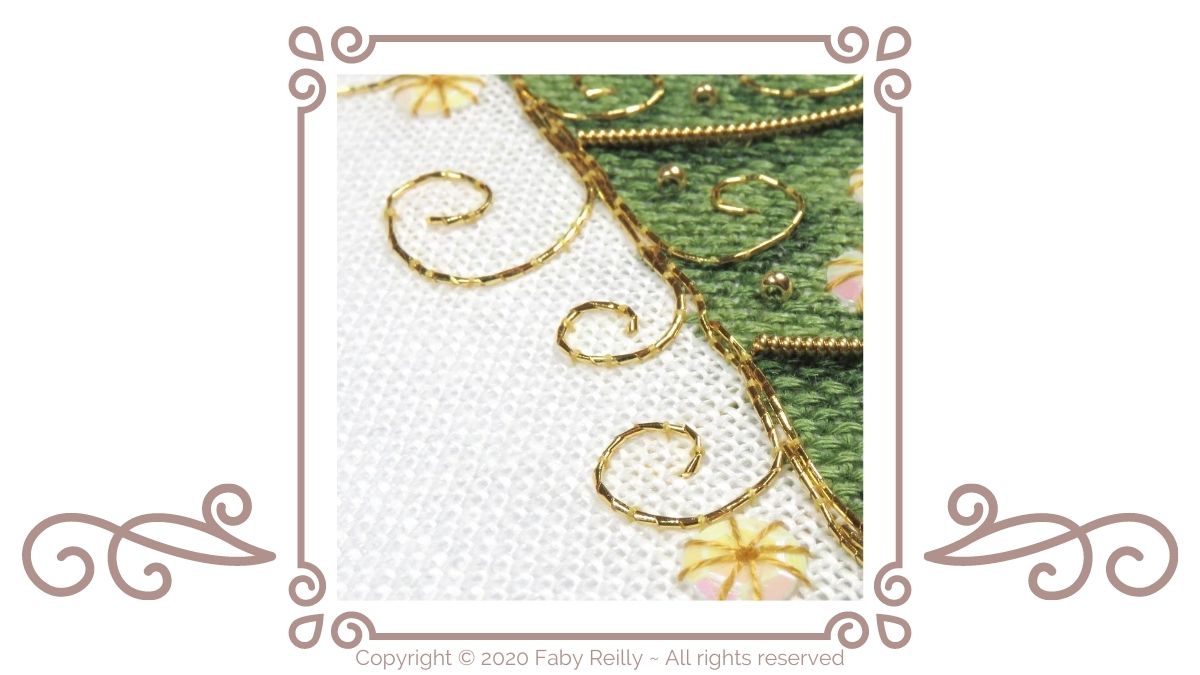
3 If you’re stiching several Japan threads at the same time, you can then start couching them in different directions. Here, we’re splitting them into 2 separate twirly shapes.
Keep stitching those tiny invisible stitches to shape the first twirl (5) and remember to stop the couching stitches just short of the end of the twirl (for the reason mentioned earlier). Leave the end of the Japan thread loose for now.

4 Then couch the seconf twirl (6).

5 Now we need to tuck the loose ends. To do so, you’ll need some chunky thread (2 strands of DMC will do the trick) doubled over to create a loop at the bottom:

6 From the top of the fabric, push the needle through the exact place where the Japan thread needs to be tucked under. Pull the needle until the only thing left on the rigth side of the fabric is a smallish loop. Push the end of the Japan thread through that loop (only the end – not the whole lot!)

7 Tighten the loop and and give it a tug to pull it through to the back of the fabric (and with it, the tip of the Japan thread). Gently feed the rest of the Japan thread through the fabric until it’s fully gone through.

8 Repeat the process for all the loose ends (whether at the beginning or the end of the couching lines).
On the back of the fabric, sew all the loose ends to nearby stitches.

Fancy seeing it stitched in action? Here’s a short video:
Happy stitching!
