
This stitch is used over threads of fabric which have been stripped by cut work, within Kloster blocks.
You would normally use Perlé #8 for bars (as opposed to Perlé #5 which is used for Kloster blocks), but if you’d rather use normal stitching floss, 1 strand of stranded cotton will be perfect.
To anchor the thread to the back of the fabric, I suggest tacking it under a nearby kloster block. It’s by far the easiest method. The proper method would be to use a waste-knot and trap the thread inside the woven bar as you stitch it. But this technique is so tricky to achieve that I’m not sure the value added is worth the aggravation. So let’s keep it simple for now, and tack the thread behind a Kloster block.
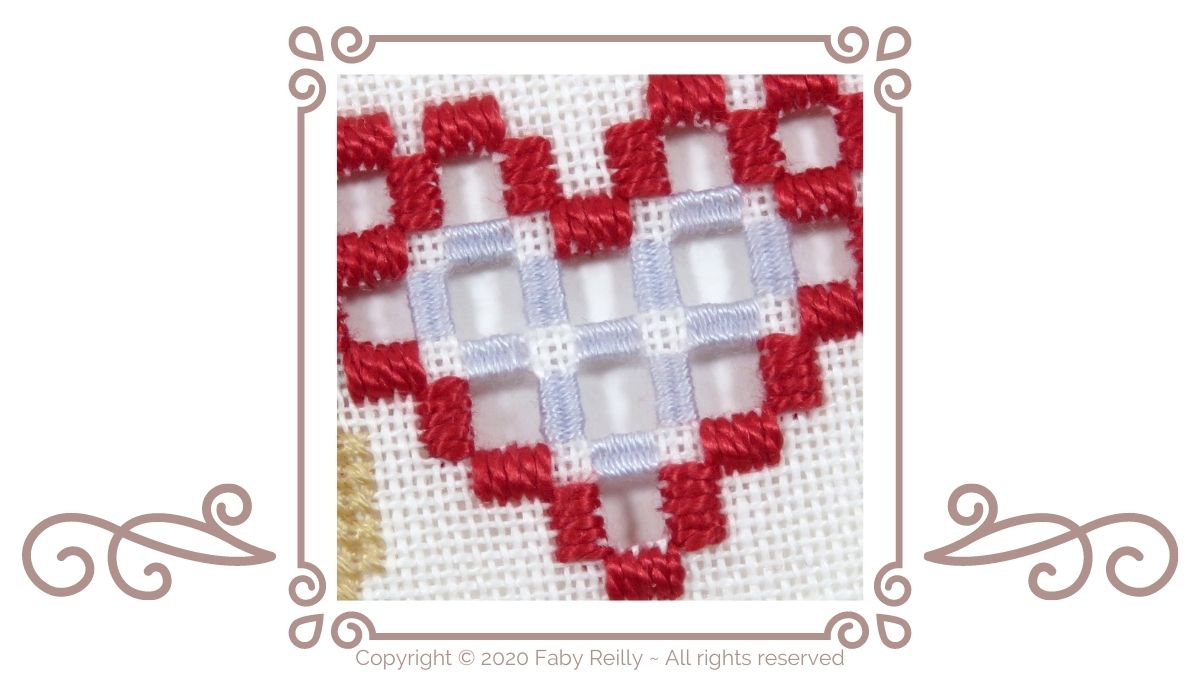
1 The idea is to weave the needle back and forth through the exposed threads of fabric. As you can see from the pictures, we’re working over 4 threads of fabric, split in 2 groups of 2 threads.
Weave the needle upwards, through the central gap between the 4 threads of fabric: over the bottom 2 threads, through the central gap, then under the top 2 threads.
In reverse, on the way down, weave the needle over the top 2 threads, through the central gap again, then under the bottom 2 threads.
(The arrows show the direction of the needle)

2 Keep weaving up and down (or left/right, depending on the direction of the woven bar), making sure you always keep to the same weaving pattern.

When you reach the end of the woven bar, tuck the thread behind the nearest Kloster block to finish.
Alternatively, start the next Woven bar, running the thread under the nearest Kloster block if necessary, to make sure all threads are hidden from view, before moving on to the next bar.
Fancy seeing it stitched in action? Here’s a short video:
Happy stitching!

Like this tutorial? Pin it!
