
This stitch is perfect for creating smooth looking lines, whether straight or curved. It’s also very effective to fill an area. Let’s take a look at how it’s done.
1 Stitching a straight line using stem stitch:
For best results, use a few strands of thread rather than just 1 strand. In this tutorial, we’ll be using 3 strands.
Stem stitches are staggered and they overlap, so each stitch starts in the middle of the previous stitch (rather than at the end, as would be the case for backstitch).
Bring the needle out at the start of the stem stitch line, and move the loose thread to one side. It doesn’t matter which side you opt for, as long as it’s always the same side. Pushing the thread to the side is what gives the stitches their nice slant. If you change sides, the stitches will slant in different directions and the stitched line will look messy.
Push the needle back through the fabric at the end of the first stem stitch, then bring it back up through the fabric in the centre of the stitch. Pull the thread out, and stitch the next stitch. This time, the centre of the new stem stitch is actually the end tip of the previous stem stitch.
Keep going this way: 1 stem stitch forward, 1/2 stem stitch backwards, 1 stitch forward, 1/2 stitch backwards, etc.
(The arrows show the direction of the needle)

To finish the stitch stitch line, simply push the needle through the fabric without bring it back up, and tie the thread at the back of the work.

Fun fact: stem stitch is actually upside down backstitch – when you turn the fabric over, it becomes obvious that the back of stem stitch is the front of backstitch!
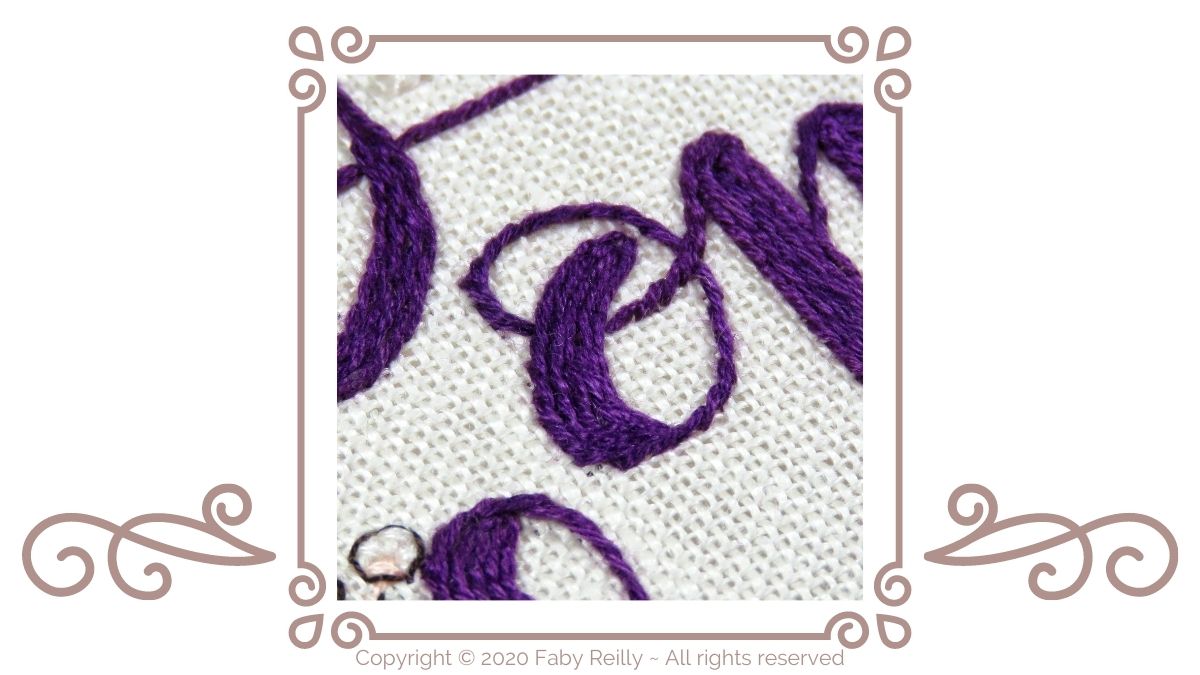
2 Stitching a stem stitch outline:
You can use stem stitch to stitch any line. It works particularly well for curved lines, as it gives them a much smoother look than backstitch does.
Here’s a little video to show you how:
3 Using stem stitch to create a fill:
Once you’ve completed the outline with stem stitch, simply fill it with more stem stitch.
Make sure you always keep the slants in the same direction, and that the stem stitch lines are really packed tightly together. You shouldn’t be able to see the fabric between the lines.
Here’s a little video to show you how:
Happy stitching!

Like this tutorial? Pin it!

Wonderful. Thanks, Faby.
You’re more than welcome, Judy 😊