
This stitch is perfect for creating chunky chain-like lines, whether straight or curved. Let’s take a look at how it’s done.
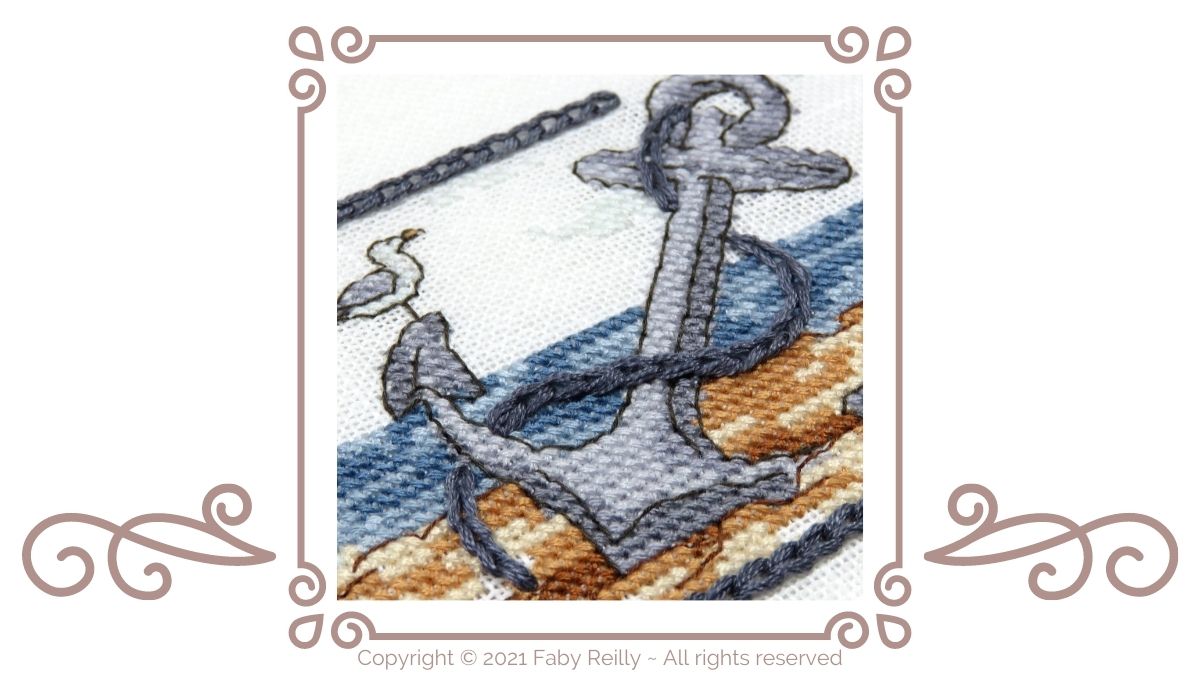
For best results, use a few strands of thread rather than just 1 strand. In this tutorial, we’ll be using 2 strands of thread (so that the stitches are not too packed and you can see them clearly), but the more strands the chunkier the chain, so don’t hesitate to use all 6 strands for this stich (as shown on the model pictures with the grey chain and on the video).
1 Bring the needle out to the front of the fabric. Move the thread aside. Then push the tip of the needle back through the same hole and bring it back up a few strands of fabric away.
Make sure you count the strands of fabric to always skip the same number of strands – this will ensure that all the stitches in the chain are spaced out evenly. I would recommend a skip of 4 strands of fabric (= 2 stitches = 2 blocks of aida).
Before pulling the needle out, make sure that the thread is tucked UNDER the needle. If the thread is allowed to stay over the needle, the stitch will disappear under the fabric.
(The arrows show the direction of the needle)

2 Now pull the needle out and gently tighten the first chain stitch.
Don’t over tighten the stitches – they will look best if they have a smooth oval shape and they’re slightly loose, so that they’re not pulled tight and totally flat against the fabric.

3 Repeat this process, making sure you always push the needle back down into the point of origin of the new stitch, before skipping the strands of fabric and bringing the needle back up to start a new chain stitch.
Fun fact: chain stitch is acutally nothing more than a linked series of Lazy Daisy Stitches.

4 If you need to change directions, whether slightly or abruptly (such as a 90º angle), direct the needle in the new direction while you’re skipping strands of fabric and the needle is on the back of the work.
The stitches will follow.

5 To stop the stitch, push the needle back through the wrong side of the fabric OVER the last chain stitch, in the next hole available past the last one used.
That’s just 1 strand of fabric away on linen/evenweave. (It’s a little more complex on aida as you have to either push the needle back through a block, or in the actual last hole used. If you do that (although I wouldn’t recommend it), make sure you don’t pull on the thread too much once tightened, otherwise the last chain stitch will be dragged through to the back of the fabric, making it rather tricky to salvage it. So best to push the needle through the aida block, if you’re using aida.)

Fancy seeing it stitched in action? Here’s a short video:
Happy stitching!

Like this tutorial? Pin it!
