
Plain Diamond Eyelet:
1 This stich is best stitched in 1 strand only, so you’ll need to anchor the thread to a nearby stitch, on the back of the fabric. We’re going to work the eyelet from the centre outwards, because it’s easier to count the threads of fabrics this way.
Bring the needle up in the centre of the stitch (#1 on the diagram below), push the needle back through to the back of the fabric in (#2) to stitch the first diagonal line. Bring the needle back up in the centre of the stitch (#3 – same hole as #1) and stitch the second diagonal stitch.

2 Keep going clockwise, always coming back through the centre of the stitch, saving the top vertical stitch for the end, for a neat finish:

3 Fasten the thread at the back of the eyelet by weaving it through the stitches at the back a few times and securing it with a couple of little knots. Find out how to do so here.

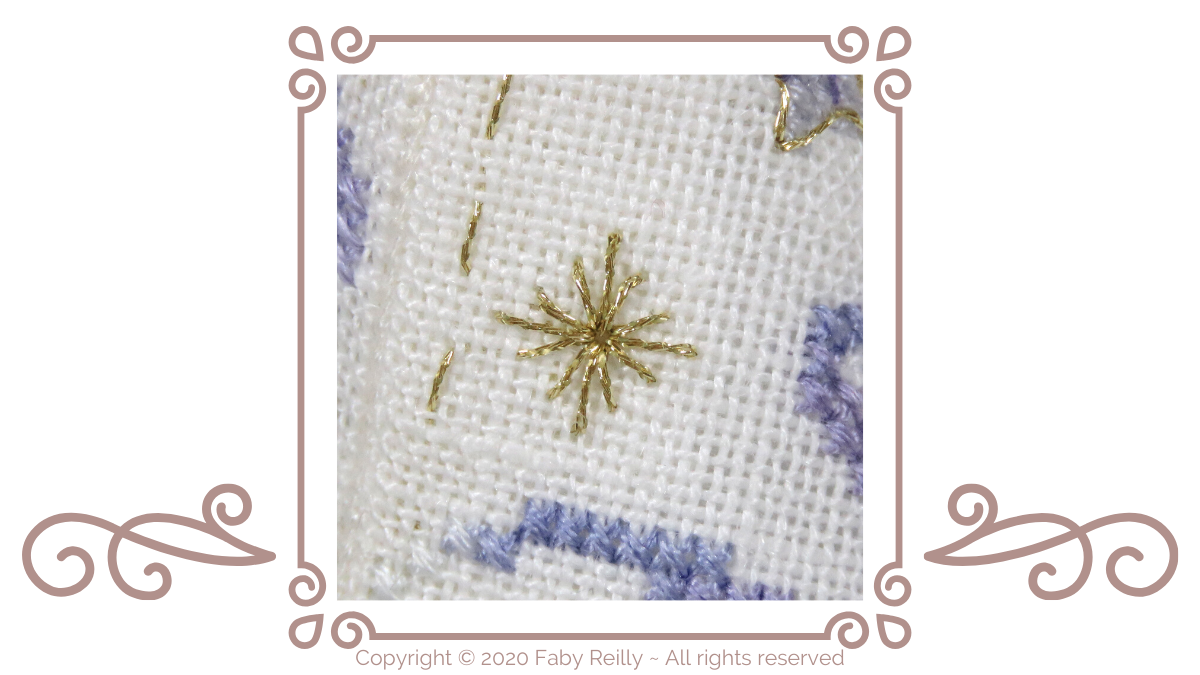
Sequin variation:
1 Even more so than the plain eyelet, the sequin variation must be stitched in 1 strand only, so that the sequin shows through the stitch and the hole of the sequin doesn’t get too crowded with thread. As for the plain version, anchor the thread behind a nearby stitch before you start. Now the stitch starts to differ: rather than working from the centre outwards, work from the outside of the stitch inwards. This is because of the sequin: it’s much easier to push the needle through the small hole of the sequin from the front (where you can see what you’re doing) than it is from the back (where you’re a bit blind). Also make sure you place the sequin so that it curves downwards against the fabric. This will allow the stitches to lie flat against the curved sequin, rather than be stretched over its hollow side.

2 Proceed clockwise, still always working from the outside of the stitch back to the centre. Finish the stitch, and tuck the thread at the back of the stitch using the same method as for the plain eyelet.

Fancy seeing it stitched in action? Here’s a short video:
Fancy trying out your new skills? Here’s a selection of patterns to do just that:


Happy stitching!
