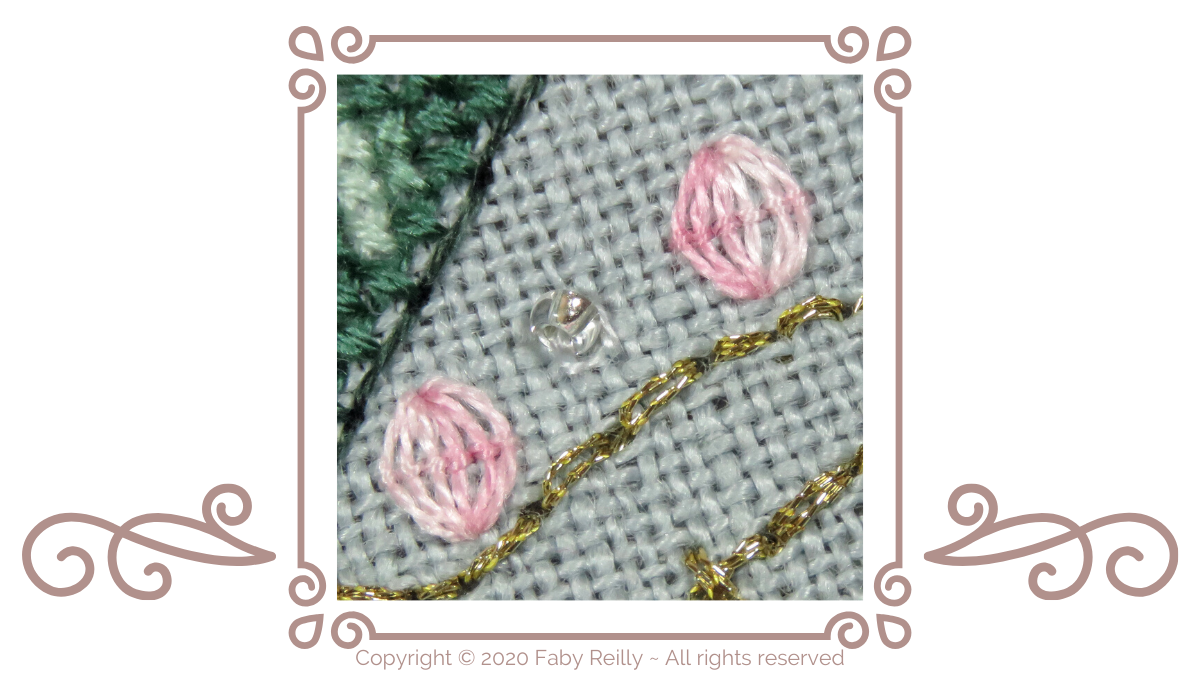

Before you start, anchor the thread to a nearby stitch, on the back of the fabric.
1 Steps 1 & 2: bring the needle out to the front of the fabric, at the base of the stitch (A), and push it back through to the back of the fabric at the top of the stitch (B). The trick to keep this stitch looking lovely and curvy is to keep the thread nice and supple: don’t over tighten the thread. The next step is to tack this first stitch into place, so bring out the needle in (3) and push it back through the fabric in (4), to tack the first vertical stitch to that strand of fabric.

2 Now repeat the process (making sure each vertical stitch is a little looser than the previous one) for the next 2 vertical stitches to the right:

3 When the right side is done, repeat the process to the left to complete the stitch:

FUN TIP: Try stitching this stitch with variegated thread, to achieve a lovely gradient!
Fancy seeing it stitched in action? Here’s a short video:
Fancy trying out your new skills? Here’s a selection of patterns to do just that:


Happy stitching!
