
Before you start, anchor the thread to a nearby stitch, on the back of the fabric, using the loop method (if you’re stitching with 2 strands of cotton). If you’re stitching with 1 strand only, then stitch a couple of knots around the back of a nearby stitch.
1 The key to finishing any Rhodes stitch variation neatly is to save the vertical stitch for the very end. So to get the starting point for the stitch, we need to rewind back from the final stitch… and that gives us the bottom left corner of the butterfly:

Let’s get started, then: bring the needle out at the bottom left corner (1) and (looking at the full butterfly stitch) work out where the first stitch ends (2). There’s our first diagonal stitch. The next step is another diagonal stitch, which lies over the previous one, slightly slanted clockwise:

2 Keep going clockwise, making sure the stitches are as neat as possible, each overlapping the previous one and keeping the tension as even as possible so that none of the stitches are looser than the others. You really want to be using a hoop or a stitching frame for this.

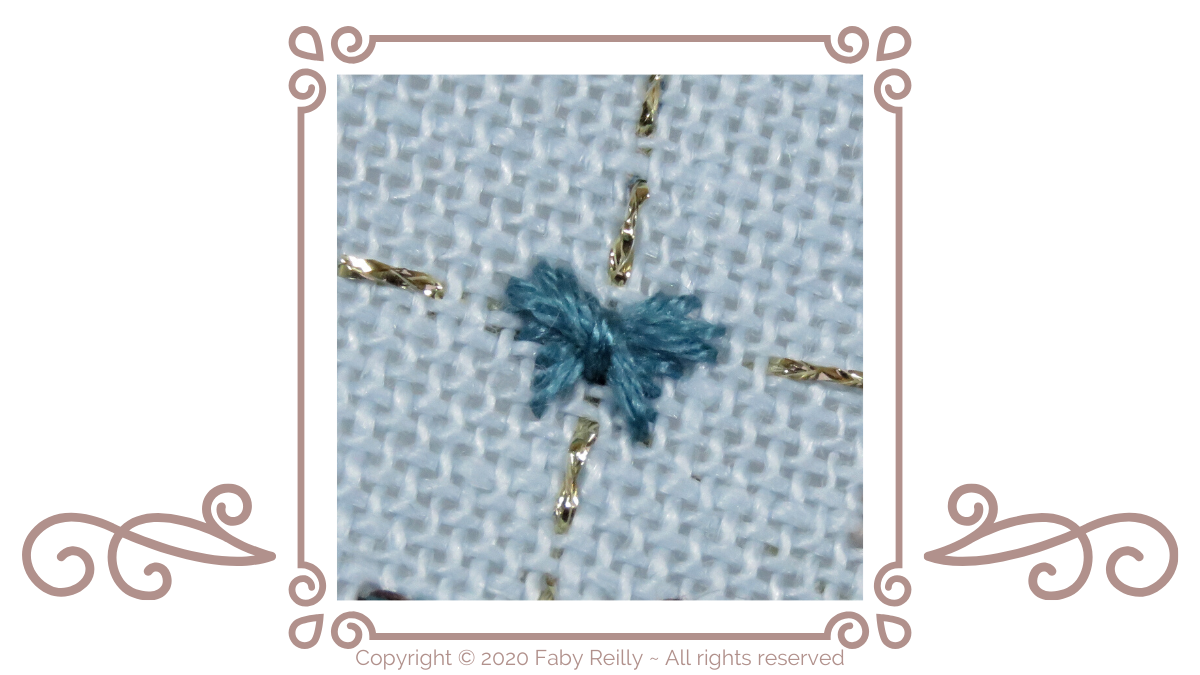
3 By the time you reach the last stitch, the butterfly is so packed together that you may find it tricky to see the “19” and “20” holes. In that case, use a finger or another needle to gently nudge the previous stitches out of the way, so that you can see the relevant holes in the fabric:

Fancy seeing it stitched in action? Here’s a short video:
Fancy trying out your new skills? Here’s a selection of patterns to do just that:


Happy stitching!
