
This lovely stitch can be stitched in a variety of strands, and either in a single colour or in contrasting shades for a fun candy cane effect.
There are 2 very distinct stages to stitching this stitch. As you can guess from its name, it’s going to involve some backstitch, and then (with a different thread) some whipstitch.
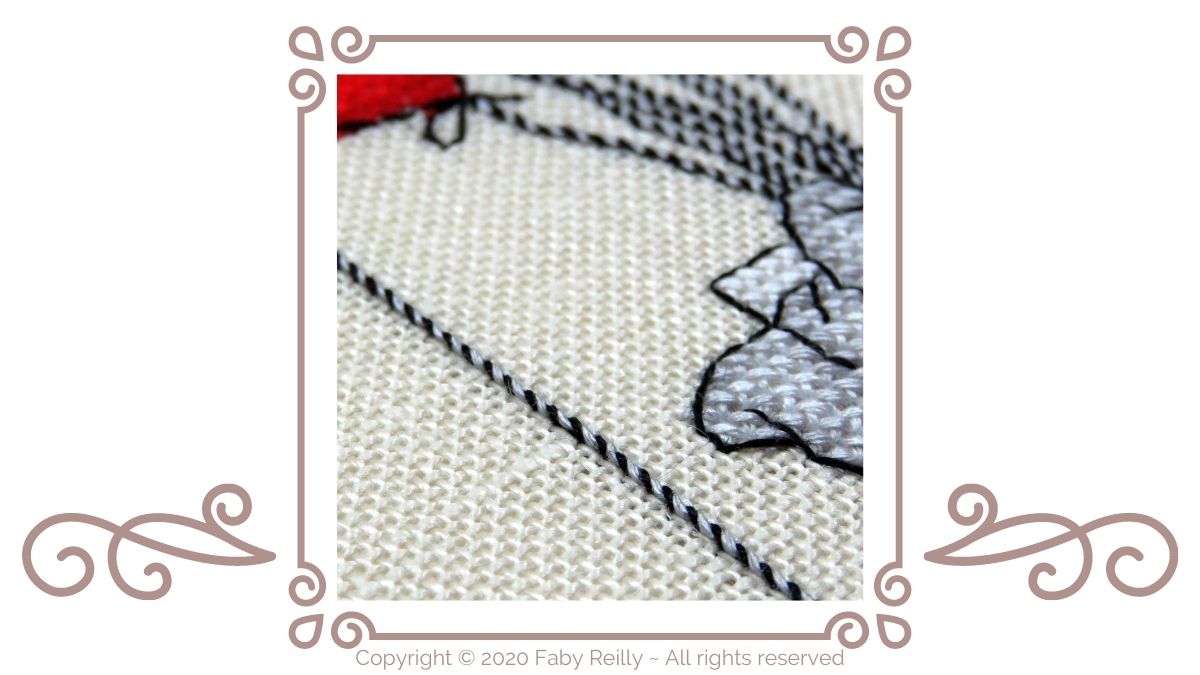
1 Let’s start with the backstitch.
For best results, adapt the length of the backstitch to the number of strands of threads you’re using. So if you’re using 2 strands of floss, then make sure each backstitch is stitched over 2 strands of linen/evenweave (or 1 block of aida). If you’re using 3 or more strands of floss, then stitch each backstitch over 4 strands of linen/evenweave (or 2 blocks of aida).
Most of you will be more than familiar with backstitch, but let’s just recap anyway:
Bring the needle out at the endpoint of the new stitch, move backwards (hence the name) to the starting point of the new stitch (which is also the endpoint of the previous stitch) and push the needle through the fabric before bringing it back up at the endpoint of the following stitch, etc.

2 Go back to the start of the backstitch line (with the same colour, or with a contrasting shade as I’m doing here).
Bring the needle out at the starting point of the first backstitch, and push the needle under the first backstitch (between the thread and the fabric), from right to left (or left to right if you’re left-handed – it doesn’t matter which way, as long as you don’t change the direction halfway through).

Keep looping through each backstitch, until you get to the last backstitch. Push the needle through the fabric at the endpoint of the last stitch.

Fancy seeing it stitched in action? Here’s a short video:
Fancy trying out your new skills? Here’s a selection of patterns do to just that:


Happy stitching!
