Have you ever sewn a crystal or a button in the centre of a biscornu…? If so, then chances are you’ve experienced the frustration of 2 hands being insufficient to pinch the biscornu down AND stitch the centrepiece on tight enough! Here’s a way to do achieve this, easy peasy lemon squeezy style 🙂
You know what I mean: you squeeze the nicely stuffed biscornu in the centre, and as you get to stitch the crystals together, you HAVE to let go sooner or later to thread a crystal on, and pfffffffew the wretched thing puffs itself up again! It’s a battle of wills. And I don’t do sweating over a battle of wills against a biscornu: somehow, it doesn’t sound very heroic, does it!
So here’s a way to do it, without breaking a sweat 😉
1. You need a biscornu, a couple of crystals (buttons, or any other decoration you wish to use), and some polyester thread as stranded cotton isn’t strong enough for this job:

2. On one side of the biscornu, find the centre. Use the loop method to attach the thread over a good few strands of fabric (if all the pressure is on a couple of strands only, they risk tearing):

3. Pinch the biscornu in the centre with one hand, and stitch through to the other side with the other hand (keep going back and forth a good 3 or 4 times) WITHOUT using the crystals! Make sure the hollow is nice and deep. Then still holding the biscornu with your left hand (or right hand if you’re left-handed), give it a few loop knots to stop the thread from becoming loose again. Now, you can let go!! And don’t worry if it looks a little messy in the centre – we still have to attach the crystals which will hide any imperfection 😉

4. Now that you’ve so easily won the first battle (what a smug feeling!), you’re ready for round 2: sew on the crystals, one on each side. You don’t even need to sew them on super tight, as the biscornu will retain its shape no matter what, now. You just need to make sure they don’t wobble about. And when you’re done, give the thread a couple of loop knots again, under the crystal, and push the needle out as far as you can, away from the crystal:

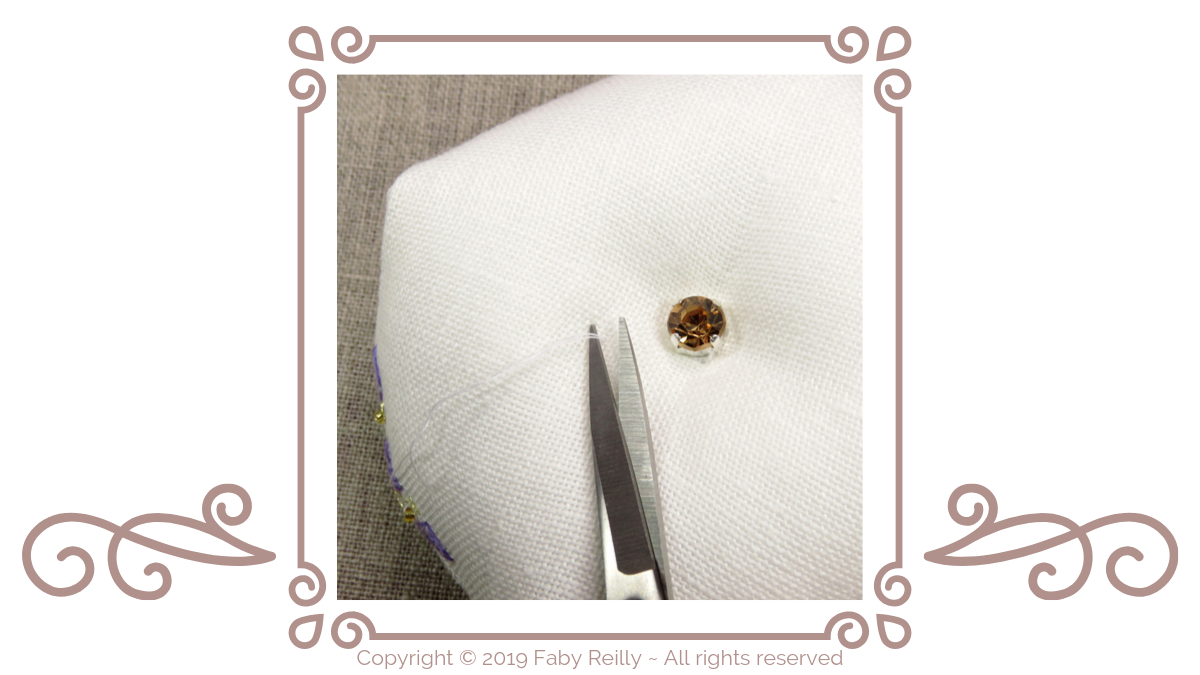
5. Pull the thread, and at the same time, snip it as close to the fabric as possible. Once cut, the thread will spring back into the biscornu and remain out of sight. Perfect!

[I know, I couldn’t hold the thread AND the scissors AND the camera, so I did have to let go of the thread – but you make sure you pull it tight, though 😉 !! ]

There, didn’t I tell you? Easy peasy lemon squeezy 😉
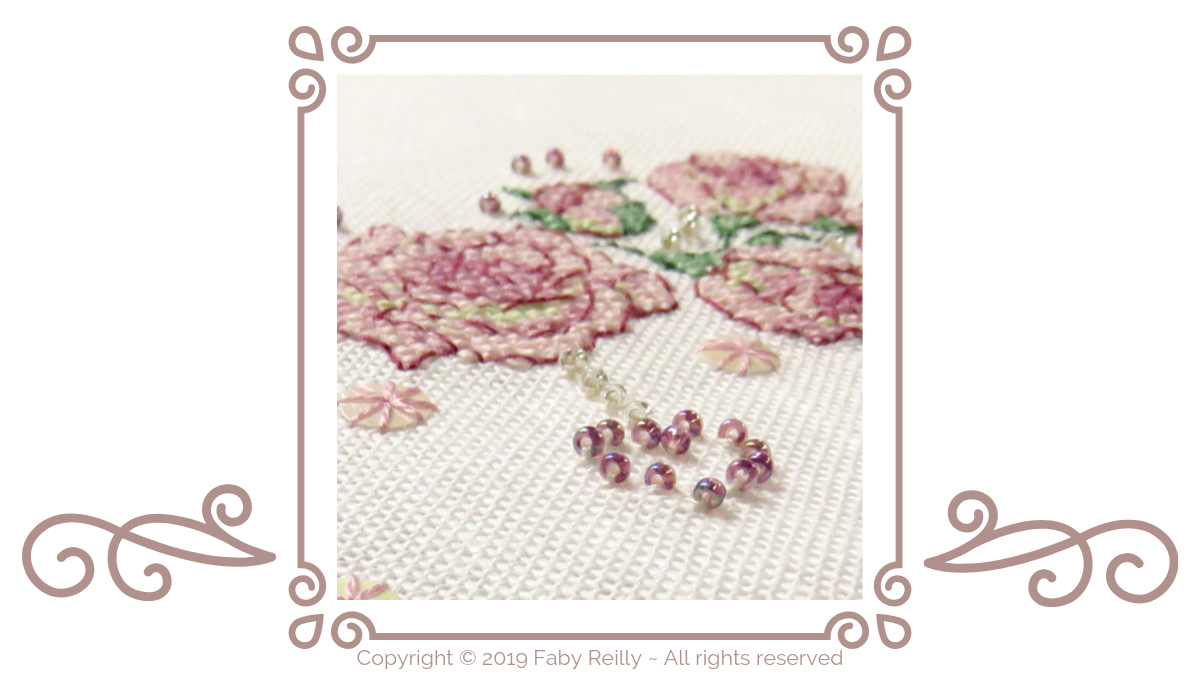
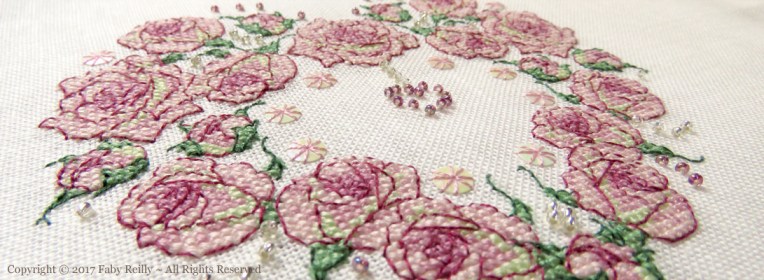
A few design ideas you may like, for which this method works really well: