It can be really effective to display your stitched work in a hoop, and so straightforward… the trick is to get the back right 😉 Here’s a step-by-step tutorial on how to go about it.
You’ll need:
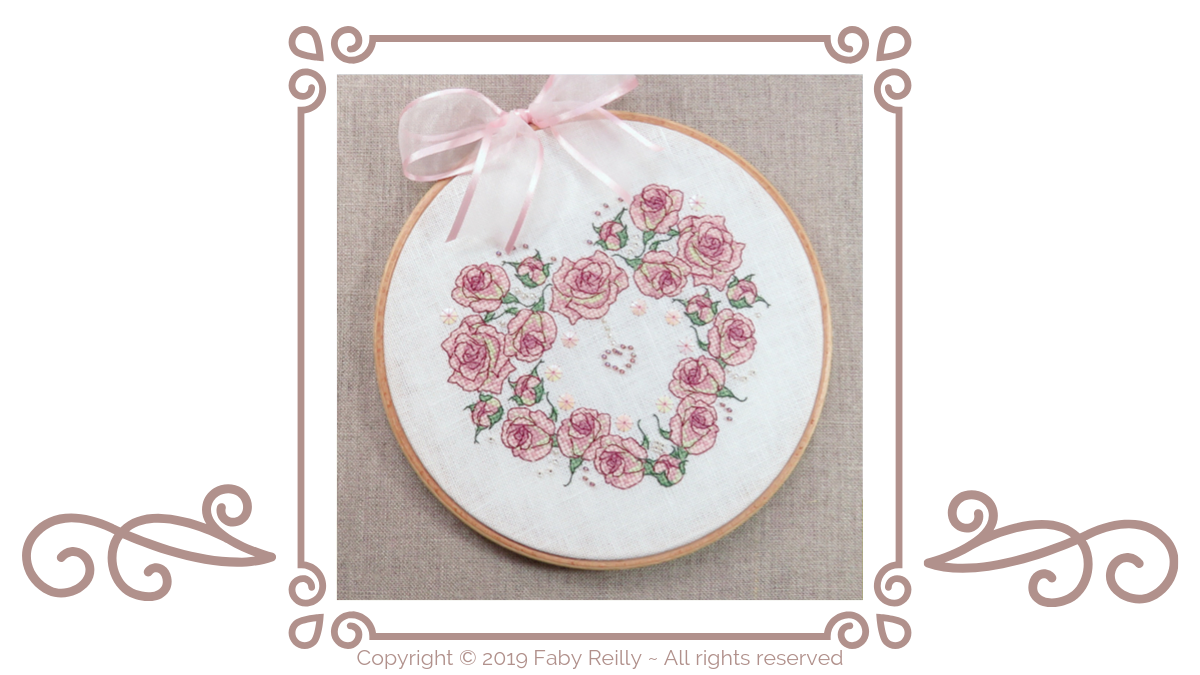
- a pretty stitched design (might as well use a pretty one 😉 !!)
- 1 wooden stitching hoop (to fit the stitched design) – allow for a border around the stitching
- felt (enough to cut a disc the size of the hoop)
- 1″ wide ribbon (x 50cm)
Ready?
1. The stitching hoop is made of 2 rings, one smaller than the other. We need the smaller one. On a sheet of paper, trace the inside of that smaller ring. This is the pattern to cut the felt to the required size:

2. Place the stitched fabric onto the hoop, and tighten the hoop screw by hand. Centre your work on the hoop by stretching the fabric from all sides:

3. When you’re happy with the position of the stitched design, tighten the hoop screw with a screwdriver so that the fabric stays securely in place:

4. Trim the extra fabric around the hoop, leaving a good 2-3cm around the hoop:

5. Stitch a running stitch along the edge, and tighten it up to gather the excess fabric over the reverse of the design:

6. Pick up the felt disc you cut out earlier, and whip stitch it to the back of the hoop:

7. To create a nice embossed effect on the front so that the stitching is slightly raised out of the hoop, loosen the hoop screw (ever so slightly), place the hoop face-up on a table, and press hard on the outer ring of the hoop until all of it touches the table. Fully tighten the screw with a screwdriver again:

8. Tie some matching ribbon to the screw to dress it:

And you’re all done !
A few design ideas you may like, for which this method works really well:


merci beaucoup pour cette finition bien propre, et astucieuse, c’est très beau
Avec grand plaisir 🙂 !!!