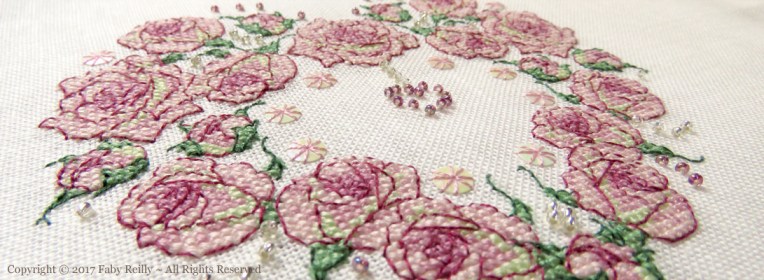
 Let it Snow Star
 Beads are soooo pretty ♥, but when it comes to ironing your stitching, they can turn quite ugly and spoil the effect if you don’t go about it carefully. Here’s how to keep your beads perfectly upright 🙂
You’ll need:
- a clean towel (the nice and fluffy type, preferably white, unless you’re sure it’s colourfast)
- a clean spray bottle, filled with tap water (don’t use scented ironing water, as it may leave residues or stain over time)
Ready?
1. Place your fluffy towel flat on the ironing board, then place your stitched work face down on the towel:

2. Gently spray some water on the back of the stitched fabric – just enough to relax the linen flat (you’ll see it flop). No need to get it too wet, unless it’s really very badly creased.

3. Now iron the back of the stitched fabric, with a bit of steam on a gentle heat (the wool setting is perfect), without pressing too hard on the iron. Let the weight of the iron do the trick and just glide it over the whole area.

4. As soon as you’ve got all the creases out, turn your stitched fabric over so the right side is showing, and reposition any beads that may have moved, then leave it flat to cool and dry. (It if wasn’t too wet in the first place, it shouldn’t take more than a couple of minutes.)
As it dries out, the linen will stiffen up again, and the beads will stay nice and upright 🙂 !
A few design ideas you may like, for which this method works really well:


What do you think?